Assembly_two
Wonderful building experiences, stunning products.
PX-Lab is a small company I co-founded that makes DIY building kits that becomes real products when assembled. I led the development of our second product “Assembly_two”. The goal was to push down complexity and cost, while still offering a well-rounded, delightful experience. Since we’ve already made a lamp and learned a lot in that process, we decided to continue on that path and make a second. This time though, it was going to be small and instead produce ambient, mood focused lights, rather than functional. I had two points I really pushed for early on in this project.
Explore more earthly materials
Our first product used bended sheet metal with dashed cutouts so the customer can bend the sheets themselves. This gives the product a very striking look, but it’s a popular method and has recently been used by companies like Teenage Engineering and Pedestal. As new kids on the block, I had the desire to break out of the “Sheet metal company” label and give form to something distinct to us. This combined with the fact that Assembly_two was going to be used on the dinner table to create a homey mood, made us convinced that it was time to explore something else. We bought a range of materials like plaster and concrete from local hobby stores to test aesthetics, material properties and manufacturing methods. We ended up going with a composite material called Jesmonite which is now used to create the “body” of the product. It’s easily molded, really strong and gave us freedom to adapt it’s appearance by blending in pigments or granules. We now produce with them using silicone molds in Felix’s basement. This manufacturing method allowed me to get a lot of control of the surfaces. The sides are mostly flat so it’s easy to hold, but it has a slight tension to it that bends into the top surface. The whole soft side of the mold is surface continuous all the way into the steel plate on top, making the two very different parts combine into one. This way, the light lands nicely on the upwards facing surfaces and gives product as a whole a very harmonious look that’s easy to handle.
Detailed light behavior
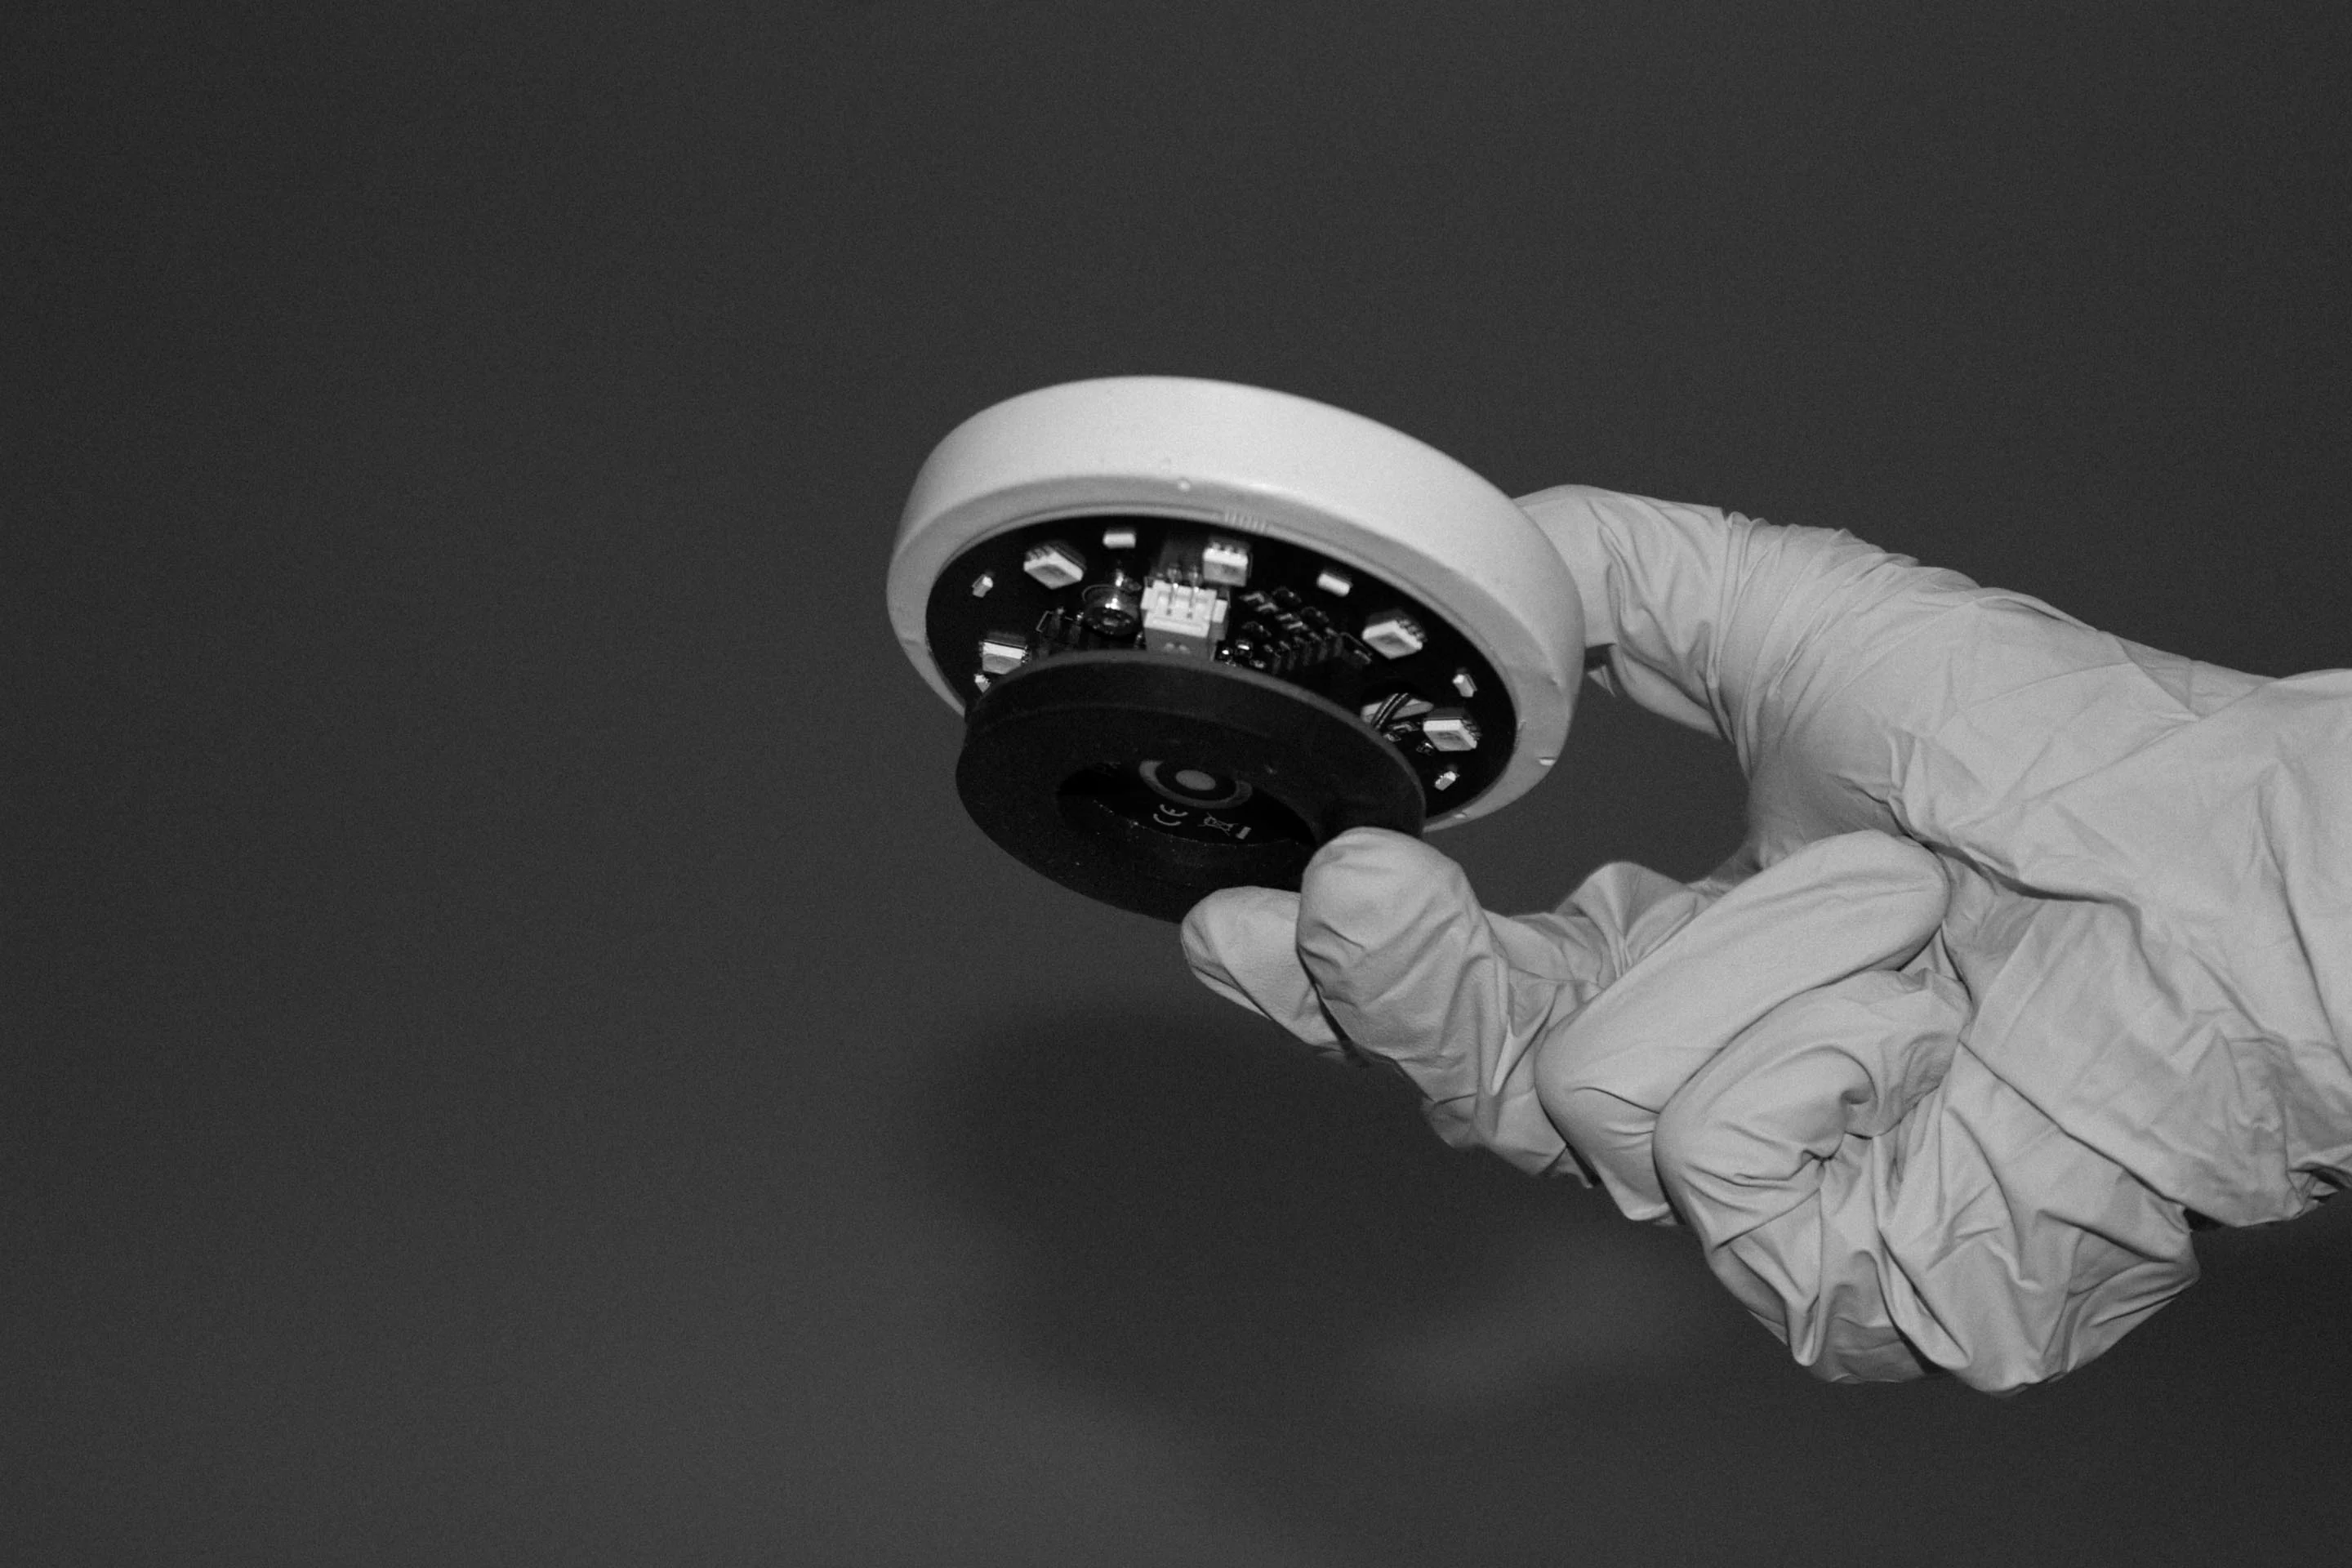
I wanted to get more control over the interactions of the product and my suggestion was to implement a microcontroller. This allowed us to use code to control the behavior of the light based on user input and battery status. We had never designed a PCB with a microcontroller before but it was something that felt important to me, so I decided to get into it. I ended up combining an ATTiny1616 microcontroller with 15 RBG LEDs which not only allowed me to control transition curves in detail but also tune the white light by balancing the red, green and blue of the LEDs. Now we didn’t have to find the perfect warm white LED, instead we could code, test and adjust. There were a lot of effort to make this work because the different colors lost it’s brightness at different speeds as the voltage of the battery dropped, but in the end we managed to create what I think is a really beautiful ambient light that’s consistent during the all 12 hours of the lamp’s battery life. Because we used RGB LEDs we could also use those to create a few alternative light modes and other flashy features, like pulsing the lamp blue when charging or if the user wants to see the battery status they can hold down the main button, which makes the lamp shine red/yellow/green depending on how much battery is left.
Learn more
I love to talk about this projects and everything we did right and wrong along the way. If you want to hear the full story, feel free to reach out at simon.ljungblahd@gmail.com.
Assembly_two is available to buy for €74 at pxlab.se


Assembly_two
PX-Lab is a small company I co-founded that makes DIY building kits that becomes real products when assembled. I led the development of our second product “Assembly_two”. The goal was to push down complexity and cost, while still offering a well-rounded, delightful experience. Since we’ve already made a lamp and learned a lot in that process, we decided to continue on that path and make a second. This time though, it was going to be small and instead produce ambient, mood focused lights, rather than functional. I had two points I really pushed for early on in this project.
Explore more earthly materials
Our first product used bended sheet metal with dashed cutouts so the customer can bend the sheets themselves. This gives the product a very striking look, but it’s a popular method and has recently been used by companies like Teenage Engineering and Pedestal. As new kids on the block, I had the desire to break out of the “Sheet metal company” label and give form to something distinct to us. This combined with the fact that Assembly_two was going to be used on the dinner table to create a homey mood, made us convinced that it was time to explore something else. We bought a range of materials like plaster and concrete from local hobby stores to test aesthetics, material properties and manufacturing methods. We ended up going with a composite material called Jesmonite which is now used to create the “body” of the product. It’s easily molded, really strong and gave us freedom to adapt it’s appearance by blending in pigments or granules. We now produce with them using silicone molds in Felix’s basement. This manufacturing method allowed me to get a lot of control of the surfaces. The sides are mostly flat so it’s easy to hold, but it has a slight tension to it that bends into the top surface. The whole soft side of the mold is surface continuous all the way into the steel plate on top, making the two very different parts combine into one. This way, the light lands nicely on the upwards facing surfaces and gives product as a whole a very harmonious look that’s easy to handle.

Detailed light behavior
I wanted to get more control over the interactions of the product and my suggestion was to implement a microcontroller. This allowed us to use code to control the behavior of the light based on user input and battery status. We had never designed a PCB with a microcontroller before but it was something that felt important to me, so I decided to get into it. I ended up combining an ATTiny1616 microcontroller with 15 RBG LEDs which not only allowed me to control transition curves in detail but also tune the white light by balancing the red, green and blue of the LEDs. Now we didn’t have to find the perfect warm white LED, instead we could code, test and adjust. There were a lot of effort to make this work because the different colors lost it’s brightness at different speeds as the voltage of the battery dropped, but in the end we managed to create what I think is a really beautiful ambient light that’s consistent during the all 12 hours of the lamp’s battery life. Because we used RGB LEDs we could also use those to create a few alternative light modes and other flashy features, like pulsing the lamp blue when charging or if the user wants to see the battery status they can hold down the main button, which makes the lamp shine red/yellow/green depending on how much battery is left.
Learn more
I love to talk about this projects and everything we did right and wrong along the way. If you want to hear the full story, feel free to reach out at simon.ljungblahd@gmail.com.
Assembly_two is available to buy for €74 at pxlab.se